[{"id":"651","chapterid":"2647","timeTo":"117.999 ","timeFrom":"0.0 ","number":"1","chaptername":"Educational Contract ","description":"An educational contract is made with the trainer such that the trainer can understand the trainees objectives and the current level of practice of the trainee. "},{"id":"651","chapterid":"2648","timeTo":"238.466 ","timeFrom":"118.0 ","number":"2","chaptername":"Pushing Through ","description":"The trainee asks for tips to avoid pushing through (continuing to insert the instrument rather than pulling back or removing a loop). Advice is given on when pushing through may be appropriate. "},{"id":"651","chapterid":"2649","timeTo":"409.966 ","timeFrom":"238.467 ","number":"3","chaptername":"Conscious Competence ","description":" "},{"id":"651","chapterid":"2650","timeTo":"675.532 ","timeFrom":"409.967 ","number":"4","chaptername":"Ground Rules for Training ","description":" "},{"id":"651","chapterid":"2651","timeTo":"779.166 ","timeFrom":"675.533 ","number":"5","chaptername":"Ground Rules for Virtual Live Training ","description":" "},{"id":"651","chapterid":"2652","timeTo":"846.599 ","timeFrom":"779.167 ","number":"6","chaptername":"Description First Case ","description":" "},{"id":"651","chapterid":"2653","timeTo":"931.666 ","timeFrom":"846.6 ","number":"7","chaptername":"Live Case ","description":" "},{"id":"651","chapterid":"2654","timeTo":"1173.799 ","timeFrom":"931.667 ","number":"8","chaptername":"Water Assisted Sigmoid Intubation ","description":" "},{"id":"651","chapterid":"2655","timeTo":"1338.632 ","timeFrom":"1173.8 ","number":"9","chaptername":"Deconstruction of Sigmoid Intubation ","description":" "},{"id":"651","chapterid":"2656","timeTo":"1468.166 ","timeFrom":"1338.633 ","number":"10","chaptername":"Splenic Flexure ","description":" "},{"id":"651","chapterid":"2657","timeTo":"1586.966 ","timeFrom":"1468.167 ","number":"11","chaptername":"Positioning for Optimal Splenic Flexure Intubation ","description":" "},{"id":"651","chapterid":"2658","timeTo":"1623.866 ","timeFrom":"1586.967 ","number":"12","chaptername":"Moving patient LL to Supine ","description":" "},{"id":"651","chapterid":"2659","timeTo":"1770.566 ","timeFrom":"1623.867 ","number":"13","chaptername":"Adding the Colonoscope Stiffener ","description":" "},{"id":"651","chapterid":"2660","timeTo":"1878.566 ","timeFrom":"1770.567 ","number":"14","chaptername":"Mid Transverse ","description":" "},{"id":"651","chapterid":"2661","timeTo":"2060.666 ","timeFrom":"1878.567 ","number":"15","chaptername":"Deconstruction Mid Transverse Approach ","description":" "},{"id":"651","chapterid":"2662","timeTo":"2169.799 ","timeFrom":"2060.667 ","number":"16","chaptername":"Abdominal Pressure Mid Transverse ","description":" "},{"id":"651","chapterid":"2663","timeTo":"2239.699 ","timeFrom":"2169.8 ","number":"17","chaptername":"Ascending Colon ","description":" "},{"id":"651","chapterid":"2664","timeTo":"2386.199 ","timeFrom":"2239.7 ","number":"18","chaptername":"Optimising Caecal Visualisation ","description":" "},{"id":"651","chapterid":"2665","timeTo":"2493.232 ","timeFrom":"2386.2 ","number":"19","chaptername":"Documentation of Caecal Landmarks ","description":" "},{"id":"651","chapterid":"2666","timeTo":"2684.932 ","timeFrom":"2493.233 ","number":"20","chaptername":"Appendiceal Polyp Detection ","description":" "},{"id":"651","chapterid":"2667","timeTo":"2769.432 ","timeFrom":"2684.933 ","number":"21","chaptername":"Decision for injection of Polyp for Better Characterisation ","description":" "},{"id":"651","chapterid":"2668","timeTo":"2800.332 ","timeFrom":"2769.433 ","number":"22","chaptername":"Trainee Injection Technique ","description":" "},{"id":"651","chapterid":"2669","timeTo":"2904.532 ","timeFrom":"2800.333 ","number":"23","chaptername":"Lesion Assessment After Injection ","description":" "},{"id":"651","chapterid":"2670","timeTo":"3058.766 ","timeFrom":"2904.533 ","number":"24","chaptername":"Attempted Trainee Snare Resection ","description":" "},{"id":"651","chapterid":"2671","timeTo":"3133.266 ","timeFrom":"3058.767 ","number":"25","chaptername":"Demonstration of Successful Technique ","description":" "},{"id":"651","chapterid":"2672","timeTo":"3276.866 ","timeFrom":"3133.267 ","number":"26","chaptername":"First Take Home Message - Slow Down ","description":" "},{"id":"651","chapterid":"2673","timeTo":"3474.132 ","timeFrom":"3276.867 ","number":"27","chaptername":"Second Take Home Message - Facilitated Torque Steering ","description":" "},{"id":"651","chapterid":"2674","timeTo":"3849.966 ","timeFrom":"3474.133 ","number":"28","chaptername":"Third Take Home Message ","description":" "},{"id":"651","chapterid":"2675","timeTo":"3927.566 ","timeFrom":"3849.967 ","number":"29","chaptername":"Take Home Message 4 - Scope Guide Angulation of the Caecal Pole ","description":" "},{"id":"651","chapterid":"2676","timeTo":"4121.532 ","timeFrom":"3927.567 ","number":"30","chaptername":"Take home message 5 - Caecal Polyp Assessment and Resection ","description":" "},{"id":"651","chapterid":"2677","timeTo":" ","timeFrom":"4121.533 ","number":"31","chaptername":"Final Take Home - Transverse Colon Cantilever Deconstruction ","description":" "}]
[{"id":"651","split":"1","chapterid":"2647","timeFrom":"0.0 ","timeTo":"117.999 ","number":"1","chaptername":"Educational Contract ","description":"An educational contract is made with the trainer such that the trainer can understand the trainees objectives and the current level of practice of the trainee. ","tagid":"462","tagName":"Endoscopic Video and Room Video with Audio Plus Trainee"},{"id":"651","split":"1","chapterid":"2654","timeFrom":"931.667 ","timeTo":"1173.799 ","number":"8","chaptername":"Water Assisted Sigmoid Intubation ","description":" ","tagid":"186","tagName":"Water"},{"id":"651","split":"1","chapterid":"2654","timeFrom":"931.667 ","timeTo":"1173.799 ","number":"8","chaptername":"Water Assisted Sigmoid Intubation ","description":" ","tagid":"211","tagName":"Anterior Sigmoid"},{"id":"651","split":"1","chapterid":"2655","timeFrom":"1173.8 ","timeTo":"1338.632 ","number":"9","chaptername":"Deconstruction of Sigmoid Intubation ","description":" ","tagid":"787","tagName":"Torque steering"},{"id":"651","split":"1","chapterid":"2656","timeFrom":"1338.633 ","timeTo":"1468.166 ","number":"10","chaptername":"Splenic Flexure ","description":" ","tagid":"162","tagName":"Splenic Flexure"},{"id":"651","split":"1","chapterid":"2657","timeFrom":"1468.167 ","timeTo":"1586.966 ","number":"11","chaptername":"Positioning for Optimal Splenic Flexure Intubation ","description":" ","tagid":"179","tagName":"Patient Position"},{"id":"651","split":"1","chapterid":"2657","timeFrom":"1468.167 ","timeTo":"1586.966 ","number":"11","chaptername":"Positioning for Optimal Splenic Flexure Intubation ","description":" ","tagid":"563","tagName":"Colonoscope Stiffner"},{"id":"651","split":"1","chapterid":"2659","timeFrom":"1623.867 ","timeTo":"1770.566 ","number":"13","chaptername":"Adding the Colonoscope Stiffener ","description":" ","tagid":"563","tagName":"Colonoscope Stiffner"},{"id":"651","split":"1","chapterid":"2659","timeFrom":"1623.867 ","timeTo":"1770.566 ","number":"13","chaptername":"Adding the Colonoscope Stiffener ","description":" ","tagid":"810","tagName":"Distal Transverse"},{"id":"651","split":"1","chapterid":"2659","timeFrom":"1623.867 ","timeTo":"1770.566 ","number":"13","chaptername":"Adding the Colonoscope Stiffener ","description":" ","tagid":"829","tagName":"Colonic Spasm"},{"id":"651","split":"1","chapterid":"2660","timeFrom":"1770.567 ","timeTo":"1878.566 ","number":"14","chaptername":"Mid Transverse ","description":" ","tagid":"821","tagName":"Proactive Approach"},{"id":"651","split":"1","chapterid":"2660","timeFrom":"1770.567 ","timeTo":"1878.566 ","number":"14","chaptername":"Mid Transverse ","description":" ","tagid":"813","tagName":"Transverse Cantilever"},{"id":"651","split":"1","chapterid":"2661","timeFrom":"1878.567 ","timeTo":"2060.666 ","number":"15","chaptername":"Deconstruction Mid Transverse Approach ","description":" ","tagid":"163","tagName":"Transverse"},{"id":"651","split":"1","chapterid":"2661","timeFrom":"1878.567 ","timeTo":"2060.666 ","number":"15","chaptername":"Deconstruction Mid Transverse Approach ","description":" ","tagid":"787","tagName":"Torque steering"},{"id":"651","split":"1","chapterid":"2661","timeFrom":"1878.567 ","timeTo":"2060.666 ","number":"15","chaptername":"Deconstruction Mid Transverse Approach ","description":" ","tagid":"833","tagName":"Clockwise Torque"},{"id":"651","split":"1","chapterid":"2661","timeFrom":"1878.567 ","timeTo":"2060.666 ","number":"15","chaptername":"Deconstruction Mid Transverse Approach ","description":" ","tagid":"826","tagName":"Too fast \/ slow down"},{"id":"651","split":"1","chapterid":"2662","timeFrom":"2060.667 ","timeTo":"2169.799 ","number":"16","chaptername":"Abdominal Pressure Mid Transverse ","description":" ","tagid":"787","tagName":"Torque steering"},{"id":"651","split":"1","chapterid":"2662","timeFrom":"2060.667 ","timeTo":"2169.799 ","number":"16","chaptername":"Abdominal Pressure Mid Transverse ","description":" ","tagid":"834","tagName":"Anticlockwise Torque"},{"id":"651","split":"1","chapterid":"2662","timeFrom":"2060.667 ","timeTo":"2169.799 ","number":"16","chaptername":"Abdominal Pressure Mid Transverse ","description":" ","tagid":"823","tagName":"Deconstruction of current situation"},{"id":"651","split":"1","chapterid":"2664","timeFrom":"2239.7 ","timeTo":"2386.199 ","number":"18","chaptername":"Optimising Caecal Visualisation ","description":" ","tagid":"840","tagName":"Turning to Right Lateral"},{"id":"651","split":"1","chapterid":"2664","timeFrom":"2239.7 ","timeTo":"2386.199 ","number":"18","chaptername":"Optimising Caecal Visualisation ","description":" ","tagid":"177","tagName":"Caecum (landmarks)"},{"id":"651","split":"1","chapterid":"2664","timeFrom":"2239.7 ","timeTo":"2386.199 ","number":"18","chaptername":"Optimising Caecal Visualisation ","description":" ","tagid":"850","tagName":"Medial lying caecum"},{"id":"651","split":"1","chapterid":"2665","timeFrom":"2386.2 ","timeTo":"2493.232 ","number":"19","chaptername":"Documentation of Caecal Landmarks ","description":" ","tagid":"476","tagName":"Buscopan"},{"id":"651","split":"1","chapterid":"2666","timeFrom":"2493.233 ","timeTo":"2684.932 ","number":"20","chaptername":"Appendiceal Polyp Detection ","description":" ","tagid":"759","tagName":"Underwater Imaging"},{"id":"651","split":"1","chapterid":"2666","timeFrom":"2493.233 ","timeTo":"2684.932 ","number":"20","chaptername":"Appendiceal Polyp Detection ","description":" ","tagid":"284","tagName":"Appendiceal orifice"},{"id":"651","split":"1","chapterid":"2670","timeFrom":"2904.533 ","timeTo":"3058.766 ","number":"24","chaptername":"Attempted Trainee Snare Resection ","description":" ","tagid":"270","tagName":"Snare placement"},{"id":"651","split":"1","chapterid":"2671","timeFrom":"3058.767 ","timeTo":"3133.266 ","number":"25","chaptername":"Demonstration of Successful Technique ","description":" ","tagid":"232","tagName":"Dynamic feedback"},{"id":"651","split":"1","chapterid":"2672","timeFrom":"3133.267 ","timeTo":"3276.866 ","number":"26","chaptername":"First Take Home Message - Slow Down ","description":" ","tagid":"240","tagName":"Tip Control"},{"id":"651","split":"1","chapterid":"2673","timeFrom":"3276.867 ","timeTo":"3474.132 ","number":"27","chaptername":"Second Take Home Message - Facilitated Torque Steering ","description":" ","tagid":"159","tagName":"Sigmoid"},{"id":"651","split":"1","chapterid":"2673","timeFrom":"3276.867 ","timeTo":"3474.132 ","number":"27","chaptername":"Second Take Home Message - Facilitated Torque Steering ","description":" ","tagid":"787","tagName":"Torque steering"},{"id":"651","split":"1","chapterid":"2673","timeFrom":"3276.867 ","timeTo":"3474.132 ","number":"27","chaptername":"Second Take Home Message - Facilitated Torque Steering ","description":" ","tagid":"242","tagName":"Left Hand"},{"id":"651","split":"1","chapterid":"2674","timeFrom":"3474.133 ","timeTo":"3849.966 ","number":"28","chaptername":"Third Take Home Message ","description":" ","tagid":"162","tagName":"Splenic Flexure"},{"id":"651","split":"1","chapterid":"2674","timeFrom":"3474.133 ","timeTo":"3849.966 ","number":"28","chaptername":"Third Take Home Message ","description":" ","tagid":"821","tagName":"Proactive Approach"},{"id":"651","split":"1","chapterid":"2674","timeFrom":"3474.133 ","timeTo":"3849.966 ","number":"28","chaptername":"Third Take Home Message ","description":" ","tagid":"839","tagName":"Turning to Supine"},{"id":"651","split":"1","chapterid":"2675","timeFrom":"3849.967 ","timeTo":"3927.566 ","number":"29","chaptername":"Take Home Message 4 - Scope Guide Angulation of the Caecal Pole ","description":" ","tagid":"177","tagName":"Caecum (landmarks)"},{"id":"651","split":"1","chapterid":"2675","timeFrom":"3849.967 ","timeTo":"3927.566 ","number":"29","chaptername":"Take Home Message 4 - Scope Guide Angulation of the Caecal Pole ","description":" ","tagid":"840","tagName":"Turning to Right Lateral"},{"id":"651","split":"1","chapterid":"2675","timeFrom":"3849.967 ","timeTo":"3927.566 ","number":"29","chaptername":"Take Home Message 4 - Scope Guide Angulation of the Caecal Pole ","description":" ","tagid":"850","tagName":"Medial lying caecum"},{"id":"651","split":"1","chapterid":"2676","timeFrom":"3927.567 ","timeTo":"4121.532 ","number":"30","chaptername":"Take home message 5 - Caecal Polyp Assessment and Resection ","description":" ","tagid":"270","tagName":"Snare placement"},{"id":"651","split":"1","chapterid":"2676","timeFrom":"3927.567 ","timeTo":"4121.532 ","number":"30","chaptername":"Take home message 5 - Caecal Polyp Assessment and Resection ","description":" ","tagid":"284","tagName":"Appendiceal orifice"},{"id":"651","split":"1","chapterid":"2676","timeFrom":"3927.567 ","timeTo":"4121.532 ","number":"30","chaptername":"Take home message 5 - Caecal Polyp Assessment and Resection ","description":" ","tagid":"245","tagName":"Cold Snare"}]
[{"name":"Case 1 - Live Training in Colonoscopy: Focus on Through Water Immersion, Splenic Flexure Negotiation, and Cold Snare Polypectomy","description":"Colonoscopy performed by a trainee. Covers water immersion, splenic flexure negotiation, distal and proximal transverse progression and peri-appendiceal cold snare polypectomy. With Educational Contract and Feedback session.","summary":"
The video emphasized the importance of patient positioning and managing fluid shifts during colonoscopy. Documenting visualization relevance, especially in areas like the caecum. It also underscored the significance of managing colon spasms using medication such as Buscopan. A critical focus was on identifying lesions and making informed intervention decisions, as illustrated by a case involving the appendiceal orifice. Lastly, the video demonstrated that strategies may need to adapt to specific patient circumstances, like previous fibrosis, by possibly shifting from snare resection to CAST.<\/p>","detailedSummary":"
Here is a list of key learning points from the video:<\/h6>\n
\n
Patient Positioning: Correct positioning of the patient is crucial. <\/li>\n
Fluid Shifts: Fluid shifts within the patient's body during procedures could be significant and need to be monitored and managed properly.<\/li>\n
Photographing Important Views: it's important to document views, particularly when visualizing important areas such as the caecum.<\/li>\n
Managing Spasms: Managing colon contractions and spasms is crucial during an inspection. It's usefull to administer medication, like Buscopan, to ensure a smooth procedure.<\/li>\n
Identifying Lesions & Deciding Intervention: In this scenario, a potentially problematic area was identified around the appendiceal orifice. Discussions about the nature of the lesion and how best to approach it were conducted. Initially, it was injected to assess its nature, and based on the findings, the decision was taken to resect it using a cold snare polypectomy. A key takeaway here is that proper characterization, injection, and decision making for intervention are pivotal steps in managing such cases.<\/li>\n
Adaptation Based on Specific Scenarios: Depending on the patient's specific situation, such as fibrosis from previous attempts, the strategy may need to be adapted, such as shifting from snare resection to CAST.<\/li>\n<\/ul>","author":"Roland Valori","tagger":"1","editor":"1","recorder":"9","authorid":"10","centreName":"Glocestershire Royal Hospital","centreCity":"Cheltenham","centreCountry":"United Kingdom"}]
[{"chapterTagid":"5308","tagName":"Anterior Sigmoid","id":"211"},{"chapterTagid":"5346","tagName":"Anticlockwise Torque","id":"834"},{"chapterTagid":"5353","tagName":"Appendiceal orifice","id":"284"},{"chapterTagid":"5351","tagName":"Buscopan","id":"476"},{"chapterTagid":"5349","tagName":"Caecum (landmarks)","id":"177"},{"chapterTagid":"5344","tagName":"Clockwise Torque","id":"833"},{"chapterTagid":"5369","tagName":"Cold Snare","id":"245"},{"chapterTagid":"5341","tagName":"Colonic Spasm","id":"829"},{"chapterTagid":"5313","tagName":"Colonoscope Stiffner","id":"563"},{"chapterTagid":"5347","tagName":"Deconstruction of current situation","id":"823"},{"chapterTagid":"5340","tagName":"Distal Transverse","id":"810"},{"chapterTagid":"5356","tagName":"Dynamic feedback","id":"232"},{"chapterTagid":"5310","tagName":"Endoscopic Video and Room Video with Audio Plus Trainee","id":"462"},{"chapterTagid":"5360","tagName":"Left Hand","id":"242"},{"chapterTagid":"5350","tagName":"Medial lying caecum","id":"850"},{"chapterTagid":"5312","tagName":"Patient Position","id":"179"},{"chapterTagid":"5342","tagName":"Proactive Approach","id":"821"},{"chapterTagid":"5358","tagName":"Sigmoid","id":"159"},{"chapterTagid":"5355","tagName":"Snare placement","id":"270"},{"chapterTagid":"5311","tagName":"Splenic Flexure","id":"162"},{"chapterTagid":"5357","tagName":"Tip Control","id":"240"},{"chapterTagid":"5345","tagName":"Too fast \/ slow down","id":"826"},{"chapterTagid":"5309","tagName":"Torque steering","id":"787"},{"chapterTagid":"5315","tagName":"Transverse","id":"163"},{"chapterTagid":"5343","tagName":"Transverse Cantilever","id":"813"},{"chapterTagid":"5348","tagName":"Turning to Right Lateral","id":"840"},{"chapterTagid":"5363","tagName":"Turning to Supine","id":"839"},{"chapterTagid":"5352","tagName":"Underwater Imaging","id":"759"},{"chapterTagid":"5307","tagName":"Water","id":"186"}]
Case 1 - Live Training in Colonoscopy: Focus on Through Water Immersion, Splenic Flexure Negotiation, and Cold Snare Polypectomy
Colonoscopy performed by a trainee. Covers water immersion, splenic flexure negotiation, distal and proximal transverse progression and peri-appendiceal cold snare polypectomy. With Educational Contract and Feedback session.
The video emphasized the importance of patient positioning and managing fluid shifts during colonoscopy. Documenting visualization relevance, especially in areas like the caecum. It also underscored the significance of managing colon spasms using medication such as Buscopan. A critical focus was on identifying lesions and making informed intervention decisions, as illustrated by a case involving the appendiceal orifice. Lastly, the video demonstrated that strategies may need to adapt to specific patient circumstances, like previous fibrosis, by possibly shifting from snare resection to CAST.
Detailed Summary
Here is a list of key learning points from the video:
Patient Positioning: Correct positioning of the patient is crucial.
Fluid Shifts: Fluid shifts within the patient's body during procedures could be significant and need to be monitored and managed properly.
Photographing Important Views: it's important to document views, particularly when visualizing important areas such as the caecum.
Managing Spasms: Managing colon contractions and spasms is crucial during an inspection. It's usefull to administer medication, like Buscopan, to ensure a smooth procedure.
Identifying Lesions & Deciding Intervention: In this scenario, a potentially problematic area was identified around the appendiceal orifice. Discussions about the nature of the lesion and how best to approach it were conducted. Initially, it was injected to assess its nature, and based on the findings, the decision was taken to resect it using a cold snare polypectomy. A key takeaway here is that proper characterization, injection, and decision making for intervention are pivotal steps in managing such cases.
Adaptation Based on Specific Scenarios: Depending on the patient's specific situation, such as fibrosis from previous attempts, the strategy may need to be adapted, such as shifting from snare resection to CAST.
Registration will open in late January 2020. Prior to this you
can register your interest below and we will keep you updated on everything GIEQs.Your email address will only be used to update you on GIEQs
Join us for GIEQs II
Released prior to the early bird deadline these 6, 1-2 minute video
snippets
demonstrate the attention to detail, deconstructed approach and rock solid evidence
base of the GIEQs Approach.
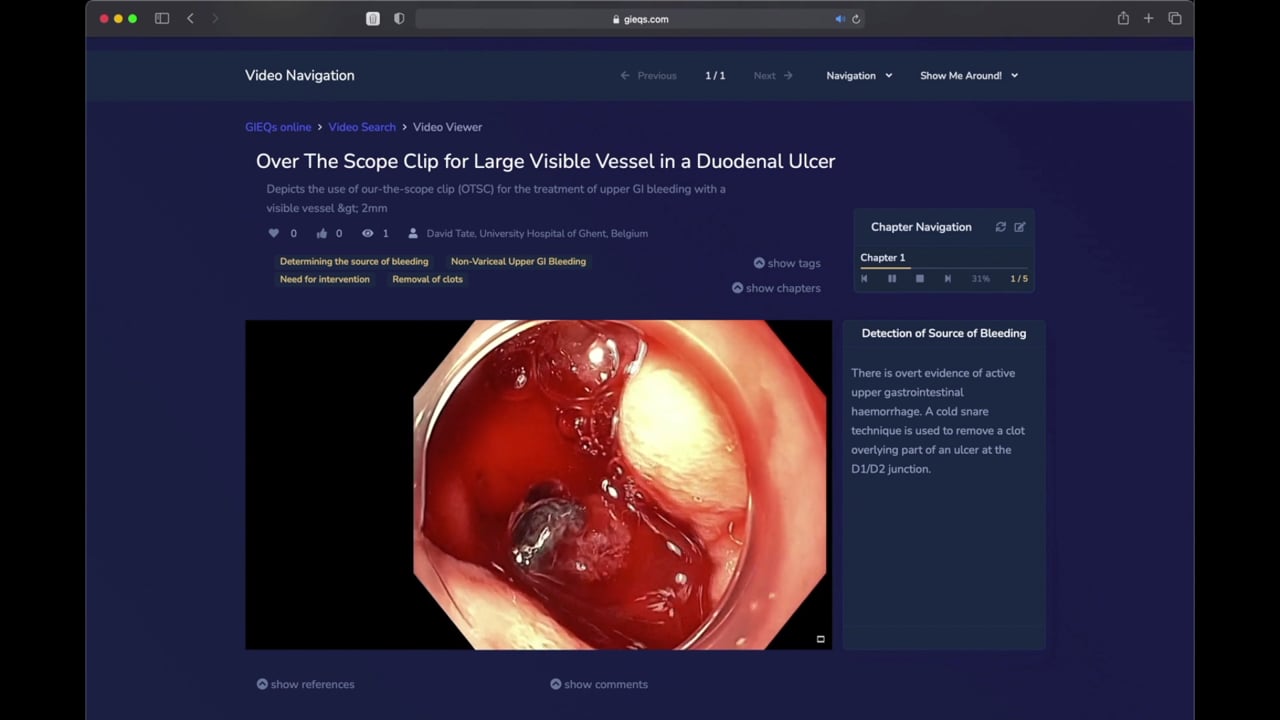
1 - Over the Scope Clip for Upper
Gastrointestinal Bleeding Use of
OTSC as first-line for life
threatening upper gastrointestinal haemorrhage.
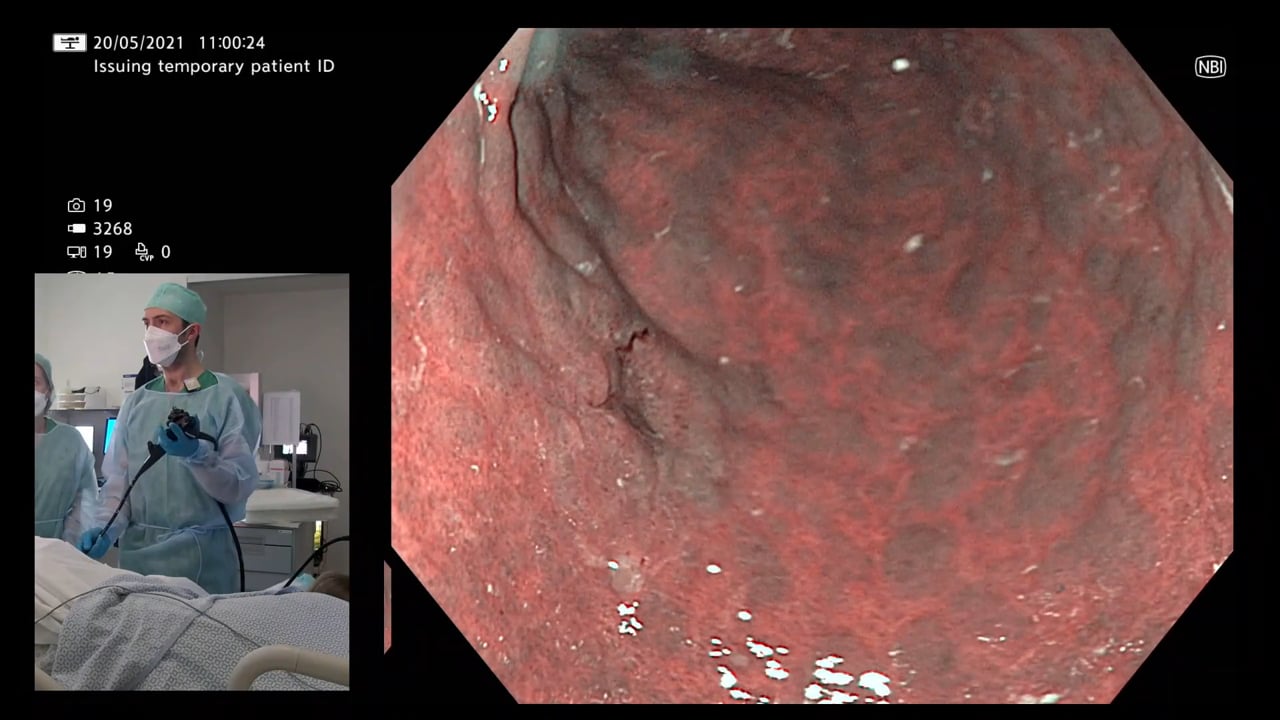
2 - Early Gastric Cancer Can you
identify and characterise
this early gastric cancer? Watch the video for more information
including endoscopic resectability
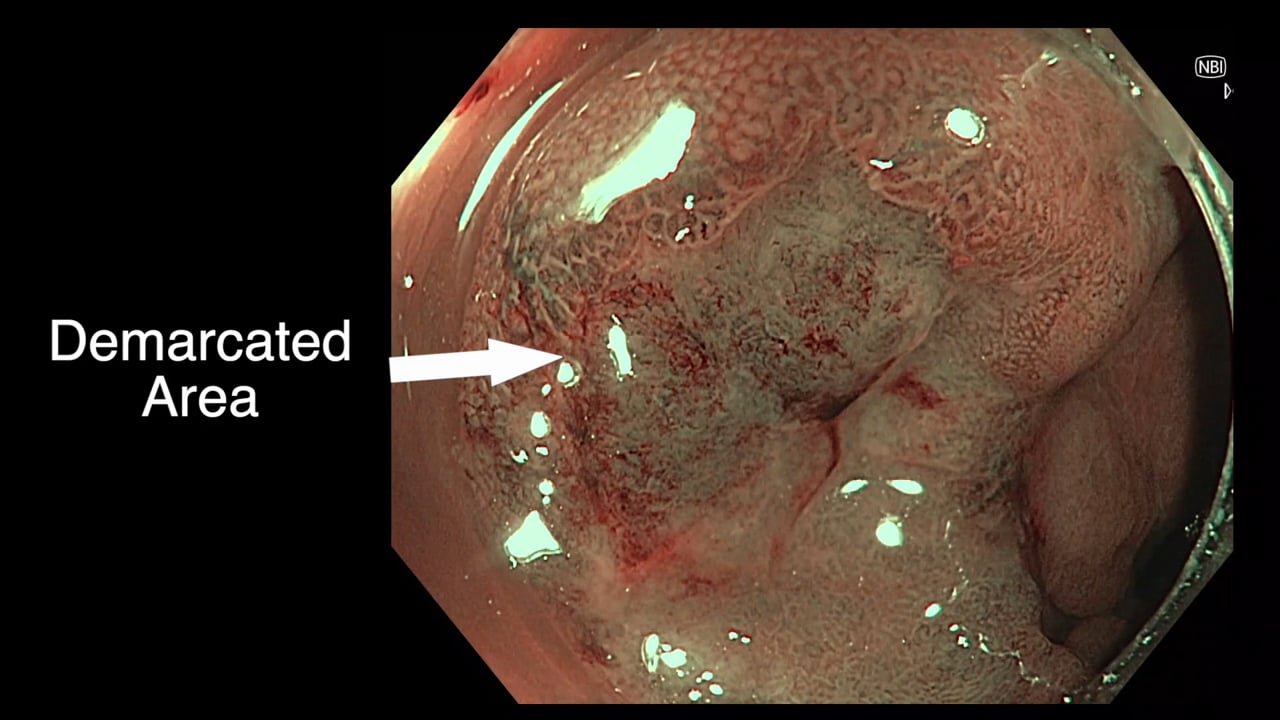
3 - The Demarcated Area as a Predictor of
Submucosal Invasion in Colon Polyps the Demarcated Area has emerged as a stable predictor
of submucosal invasive cancer. Find out more here.
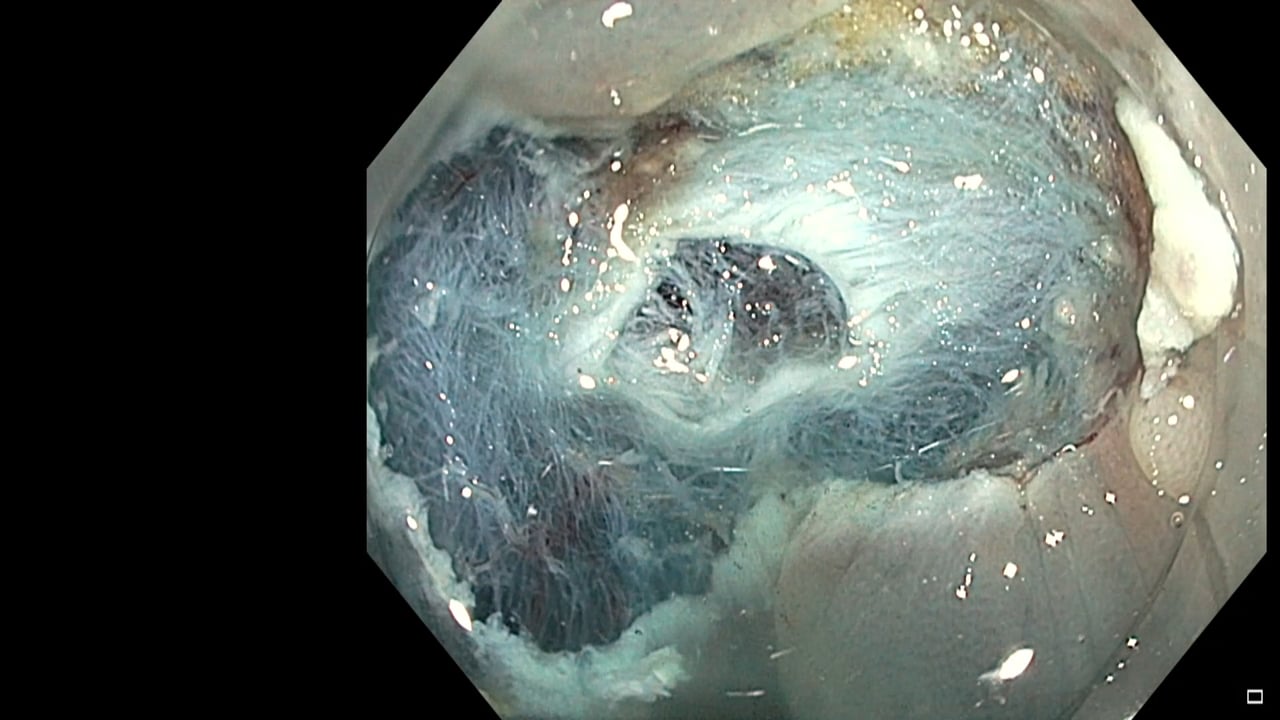
4 - Dealing with Adverse Events at Colonic
Polypectomy
To be able to competently perform colonic polypectomy you must be able
to deal with adverse events. A deconstructed example is shown
here.
5 - Complex EUS applications to make Everyday
ERCP easier Endoscopic Ultrasound
is radically changing the way we approach biliary intervention and can
make a difference to everyday endoscopic problems.
6 - Decision Making after Large perforation and
life threatening Bleeding during Polypectomy Many of the GIEQs faculty spend their normal working
lives on complex endoscopy. Learning the lessons and approach from these
procedures, deconstructing them and bringing them to the everyday is a
crucial part of the GIEQs approach.